Monday 4 December 2017

Winter head wear

While some parts of the northern hemisphere are experiencing bitter cold with snow and ice, other parts are warmer and still others are experiencing temperatures that some of us would be glad to see in summer, let alone winter. However this week I am going to concentrate on head coverings for those in cold climates.
I have been looking up various types of hoods which can be worn outside in winter, whether it is just windy or if it's icy outside, and can also be worn indoors if, like me, you prefer to add an extra layer or two rather than turn up the thermostat on the heating and suffer the higher bills that come with increased warmth.

There are a number of different solutions out there, from fur lined hoods to pull on woollen hats, but as I find I suffer earache if out in the wind or cold (and that includes indoors) and also that a cold neck and shoulders aggravate my arthritis this is a subject close to my heart. I spent quite a lot of time yesterday looking different varieties of head coverings, and also at the number of patterns that are out there for those keen to make their own. I also looked at coats and capes or cloaks but that is for another day.

I finally decided on a couple of different solutions. One is a simple hood and shoulder cape, based on those worn in mediaeval times which can be fastened either in the front or down the back of the head. I finally managed to come up with a design that can be worn with comfort (I will admit here to making mine with no fastenings although I might put some on the next version just to be different) both indoors and outdoors underneath either a head scarf worn tied underneath the chin or at the nape of the neck. It could also be worn by those who routinely cover their heads either for religious, medical or other personal reasons. I am also going to be tempted to wear it when I play dress-up at historical gatherings (should look fairly authentic as the wimple part of a wimple and veil ensemble so evident in mediaeval pictures).
,

Below are a couple of drawings showing how to make a basic pattern for a couple of different
outdoor hoods showing the measurements you need to take and the basic shape you need to draw on
your pattern paper. From there you can adapt as desired. There are also a couple of adaptations shown, these are based on ideas I have come up with for hoods for different people, for example my daughter who will wear one outdoors if it's really cold but will take it off the instant we either get into a warm car or building. I wear one all the time unless it is really hot, my arthritis seems to like it when my neck and shoulders are covered, and in the cold this means with as many layers as I can reasonably wear.


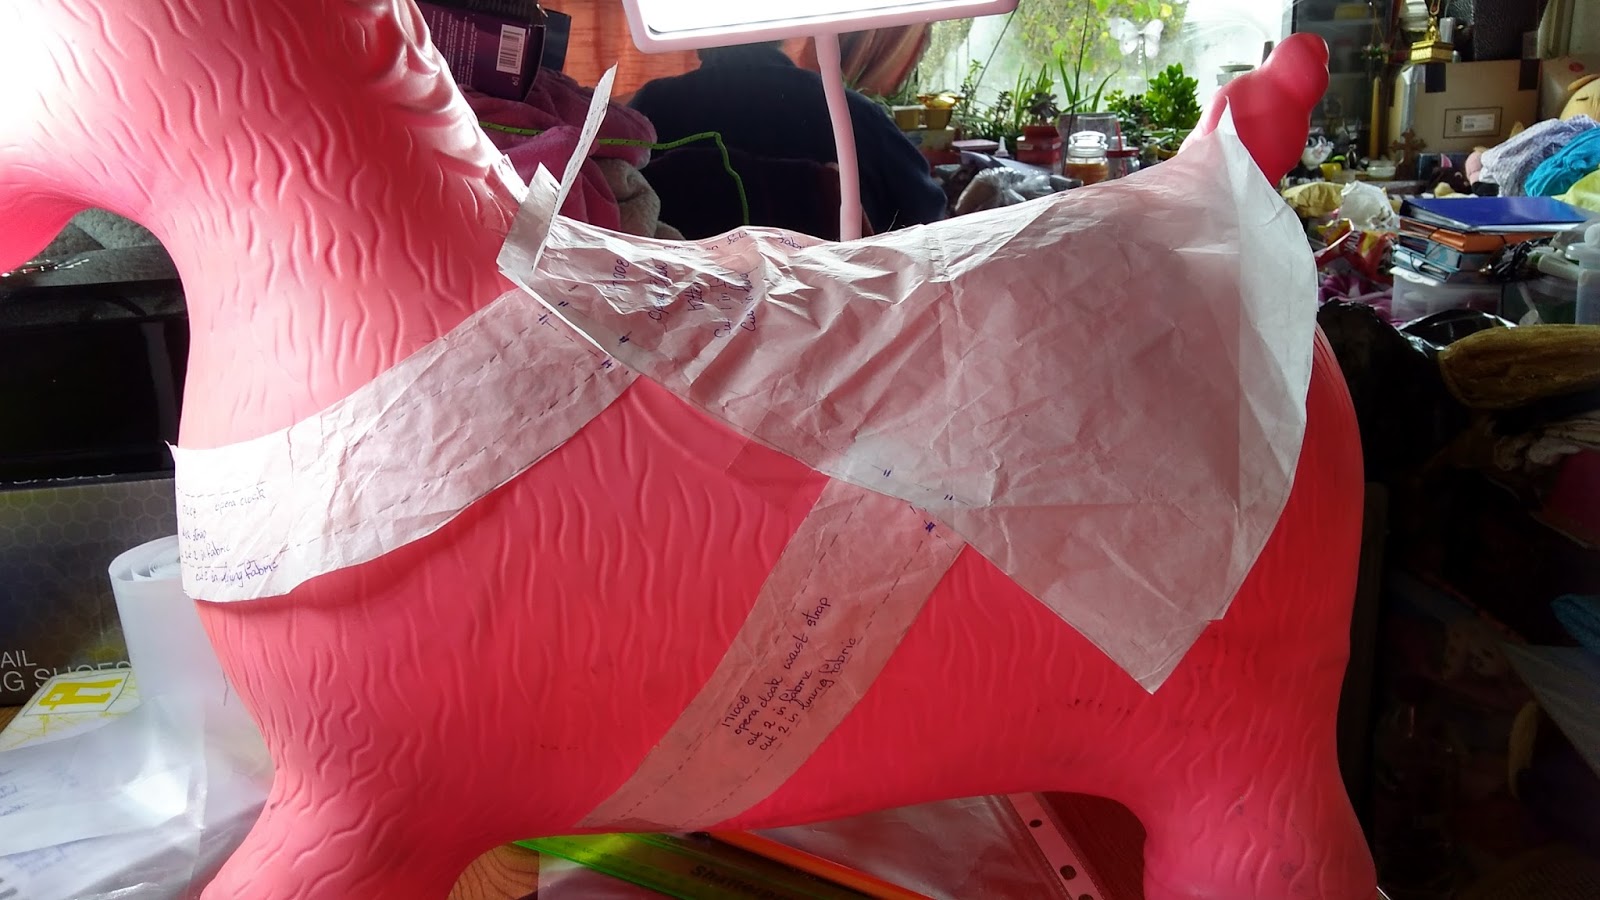
There are also the two patterns I've made, the first for the wimple and the second for the hood without a coat. Mine will be in two different fabrics, not nylon, and will be quilted for warmth. It will also be one that can be worn with either side showing and will have a matching coat, but by being separates both items will be more flexible (my daughter seldom wears a coat but will wear a hood or scarf to keep her hair in place when windy or raining out).


So look at the drawings, take your own measurements and make your own simple patterns and on to your own hoods.

Sunday 5 November 2017

Recycle and Pattern Hack Threadcount Pattern #1608

This week I decided to do a pattern hack, I have a lovely duvet cover I was given and my daughter had fallen in love with both the fabric and the pattern in my stash box. As the pattern only goes up to a size 14 (UK) and my daughter is a 54" bust I first had to redraw the pattern pieces (2 of them) to fit which was a fairly easy task.  I chose to make view C, the top which goes from high on one side to knee length on the other and is begging to be made in a bright flowy fabric. With winter coming I decided now was the right time. The fabric is a polyester so will be warm enough to wear over a skirt or jeans/trousers indoors or under a cardigan outdoors and bright enough to cheer anybody up on a miserable winter's day.


I cut the fabric out taking care to leave some free around the edges so that I can cut out a use some of the flowers to applique onto another top (note: turmeric doesn't come out of fabric so needs to be covered over when it stains) which will in turn make another shop bought top look different to any others.

I followed the pattern sewing instructions but it was easy to do. I remade the neck facings and made them longer so that they covered the armholes as well but apart from that it was easy sewing all the way. The fact that this top only has a front and a back is easy although the shaped hem could be a pain to sew if using a thicker fabric.


I then made another garment in the same fabric but this time with sleeves. The pattern is sleeveless so I made sleeves based on a picture I had seen in an advertisement for sewing threads. They are loose enough that a long sleeve T-shirt can be worn underneath if the weather is really nippy outside. I also made a false hem, really a facing for the hem line, I had found the shaping of the original pattern hem to be  awkward when turning up a hem, especially when sewing the polyester which frays like mad and really needs a decent double hem. (I did french seams on both items).

As you can see the finished garment looks lovely and cheerful, it was fast to sew (I cut and sewed both garments in an evening)  and I will certainly make it again. I would also consider redrafting some of the other items in the pattern envelope as this one came out so well and it would make for a lovely summery wardrobe for next year.  I can thoroughly recommend this pattern and would willing make more of their items in the future. In fact, I will be making this top in the near future only this time using 2 different cottons and with long loose sleeves and a maxi hem, it will look good over a pair of fitted slacks and dressy enough to wear out over Christmas. Definitely a pattern to keep and a designer I will be looking at for more patterns to use. My only complaint is that they only go up to a UK 14 in size, anyone larger will need to redraft as I did, but that is a small price to pay for a great design.

Until next week, have a great time and take care.

Monday 30 October 2017

Kitten, Fangs and Halloween

First of all, apologies for no post last week. Storm Ophelia (was hurricane downgraded to tropical storm) followed by Storm Brian meant there was no internet - landline or mobile - for most of the week.
This week I decided that as halloween is approaching I would make a couple of pet costumes, one for our cat and one for the dog next door.  In true halloween fashion I decided that as they both have sharp fangs a vampire outfit would be perfect. I purchased a yard each of 44" wide cotton poplin. While this is an outfit you can adapt and make for any pet you do need to measure the recipient to ensure you purchase the right amount of fabric. I buy mine from Vibes and Scribes in Cork, Republic of Ireland, and they sell cotton poplin by the 1/4 meter.

The measurements you need are A) from the nape of the neck to where the tail begins at the base of the spine, B) their waist measurement, C) the measurement from the nape of their neck to the mid-point on their chest, half way from side to side and also from their throat to the shoulder as the  front fastening is shaped instead of going straight round like a collar. The measurements I used for the cat were A = 11", B = 24" divided by 2 = 12" - this measurement was loose around her midsection to allow for the straps to fasten, C = 18 " divided by 2 = 9" and D = 6" divided by 2 = 3". I then got a piece of paper and drew a line along one straight edge of 11" with a 90 degree line at either end, one measuring 3" and the other roughly 10". This last measurement allows the cape to fall halfway down her hind legs. I then marked the center of the long line and measured a quarter of her waist measurement at right angles, in this case I used 6". I then joined all the short lines using a curve and also slightly curved the hem line to make it flow better. I then drew the waist strap which is 6.5" to allow for seaming allowances and a joining overlap. I then taped the pieces to my pet 'mannequin' who is the right size neck to hip and from nape to mid-chest, and also stands still. I then roughly cut a shape with a slight curve and taped it down before refining the shape to get the final design for the neck band. Finally I made a collar which fans outwards from the top of the cape to allow it to stand upright behind her head.  I also cut a piece of stiff interfacing the same size as the collar piece. All pieces were then named, marked with notches and lines showing where they are to be cut on the fold of the fabric and with a 0.5" seaming allowance.

I then laid the 2 pieces of fabric one on top of the other (one black, one red), folded them with the top piece being 12" from fold to selve edge and pinned the pattern onto the fabric and cut it out making sure to show all the notches where the straps join (I transferred these to the right side of the red fabric using tailors chalk for sewing purposes). The remainder of the fabric will then be used to make a matching outfit for the neighbour's dog who is slightly larger than the cat.
I then pinned the pieces together and sewed them along the marked seam lines making sure to leave the neck part of the cape open to allow it to be turned the right way out after clipping the curves, the same with a narrow end on each of the 4 straps. I then ironed the fabric to ensure a crisp seam. I ironed the interfacing onto the black collar piece then sewed along 3 sides leaving the neck edge open and turned it inside out as well. I then made sure to turn in a half inch seam allowance and iron it ready for assembly.


 Below you will see the finished article being modeled for you by Princess Kitty Bisley, to give her her full name. The bling on the back and front was put there by my daughter just to pretty things up for her. This was an easy outfit to make and, will modifications, I will use the pattern again in the future for more clothing items. I hasten to add that apar  t from modeling for the camera I don't dress Kitten up on a daily basis like some do, she will tolerate clothing for a short while but when the camera goes away the clothing comes off.           


Take care, happy halloween and keep all pets inside on Tuesday.


Saturday 14 October 2017

Introduction and Explanation

As this is my first post it will be mainly to describe who I am and what I do.

My name is Ivlia Vespasia and I paint using acrylics and oils, weave wall hangings, bed and floor coverings, sew clothing and do sundry other crafts, example illumination for my daughters calligraphy, painting Christmas and birthday cards for my daughter to finish off, and am always willing to try a craft even if I don't turn out to be any good at it.
I am 55, and currently living in Ireland (Dublin) with husband and daughter and 2 rabbits plus cat (and the neighbour's dog). I learned to sew from my mother aided by needlework classes in school when I was 11 and again at 14. I grew up in New Zealand (based in Auckland but also lived in Paihia, - the Bay of Islands - and Turangi at the base of Lake Taupo) where I attended school and I later  attended a secretarial college and later worked in banking and insurance. I moved to England with my husband and returned to working in insurance before leaving when my daughter was born. I then ran a small smallholding while making curtains and clothes for others as extra money. We moved to Ireland when my daughter was old enough for school and have lived here ever since, some 24 years now. I have always sewed for my daughter and myself, and occasionally for friends, but was encouraged more recently to show my items to others and maybe show how I designed and made some of them.
I have recently been asked to make clothing for friends, and I have always given away some of my successful experiments in weaving, so I am currently designing an outfit for someone to wear at Christmas. I also recently returned to painting - I started about 8 years old when oil painting by numbers was all that was around and spent my teenage years painting copies from Egyptian tomb walls - and have found that there is a demand for my artwork among friends. In fact, they give me lists of suitable themes (sometimes even photos) for birthday and Christmas presents and a number of people have suggested I sell my work. I prefer landscapes and have a waiting list of canvases to finish but finding time to both sew and paint can lead to creative time keeping, but luckily oil painting means that I can leave a painting and come back to it again without problems. In fact, some of my best dress designs come to me when I am painting, it must be the artistic pursuit.
This blog will showcase some of my art and also my clothing and weaving designs. I will show how I make clothing, from basic (and simple) underwear and trousers through to skirts, tops and dresses - both comfortable house dresses and dressy dresses.
There will also be a couple of other occasional contributors, my daughter who does calligraphy, embroidery and cross stitch, and the cat who will model some of the pet wear I have sewn/will be sewing for cat and neighbour's dog. This blog will hopefully be written up at the weekends when I try to take a break from painting and sewing while spending time with family and friends, a time to go over what I have achieved in the previous week and what I hope to achieve in the coming week.
Equally I hope that it will at least by read by a couple of people and that it will be both enjoyable, and helpful. If you have a problem that you would like assistance with - sewing - leave a comment or email me and I will try to help. If there is something you would like to see being made - and I will try to post photographs of my work as I go along although coming into winter means constant rain outside is causing problems with light and photography at the moment, but we will overcome somehow - I will also try to help. I use a mix of ready made patterns, home made patterns and designs and ideas from a number of YouTube channels that I subscribe to. I will list these in my next post, hopefully on Saturday 22 October, when with luck I shall also have pictures showing a halloween outfit and a 'review' from the recipient.
If you read this, please enjoy and read next weeks as well, if only to see how it develops.
Good luck to all, and in the words of a famous Irishman ''may your God go with you''.
A last note, the pictures below show some of the things I've made/painted/crocheted/sewn/designed over the years, mainly for friends. A number of them are now on permanent display to those of the public who are interested. The crocheted dress was quickly made for a cold snap, I have designed several more, some finshed some still to be finished. The Roman clothing was made quickly for a photo shoot, and the jewellery is something I do mainly as a hobby for myself or anyone wanting something I am able to create. Hope you like them, I enjoyed  making them and will showcase a few more pictures next week.


Winter head wear While some parts of the northern hemisphere are experiencing bitter cold with snow and ice, other parts are warmer and...